I’ve been on the hunt for the perfect duffel bag for ages. You know the struggle: this one is too small, that one is made from the wrong material, and the other one is way too experience.
Finally, I decided to stop shopping and start sewing.
The catch? I’m a beginner sewist. I had zero experience with zippers. After falling caving to the YouTube tutorial, I figured I should give it a try.
The “Upcycle” Inspiration
I’ve always loved the idea of giving old materials a new life. Repurposing material for something I will use gives the project much more meaning. (Spoiler alert: I’m already eyeing my closet for my next clothing upcycle!)
An Amazing Tutorial
If you’re looking to try this yourself, I highly recommend checking out Tami Jones on YouTube. Her short tutorial on making a duffel bag from a quilt was my guide for this project.
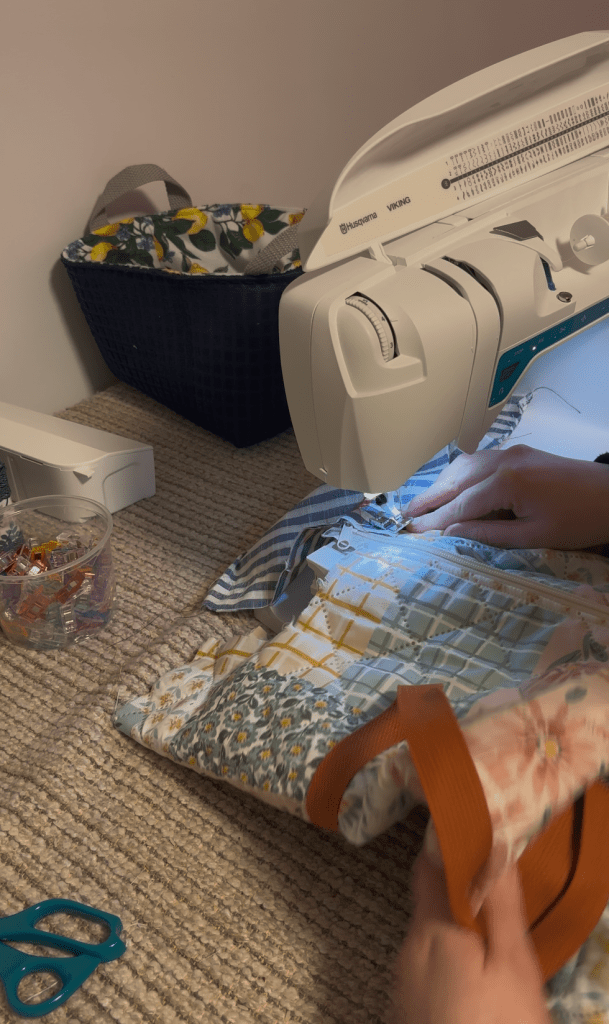
The Great Zipper Struggle
Let’s bring up the worst part of the project for me: the zipper.
Installing a zipper in a bag using a zipper foot was a breeze. I felt so proud successfully attaching the zipper to my bag…until it was time to attach the zipper pull.
It turns out, sliding a pull onto a zipper isn’t as simple as sliding it on, despite what some videos show online. I wrestled with the zipper pull for about 15 minutes before I successfully got it on the zipper. Seconds later, I accidently slid it right off the other end. Frustrated, I decided it was time to try the “Fork Method.”
If you’re struggling with a zipper pull, use a fork to hold the pull in place while you slide the zipper through. It worked in seconds. Save yourself the headache and try this first!
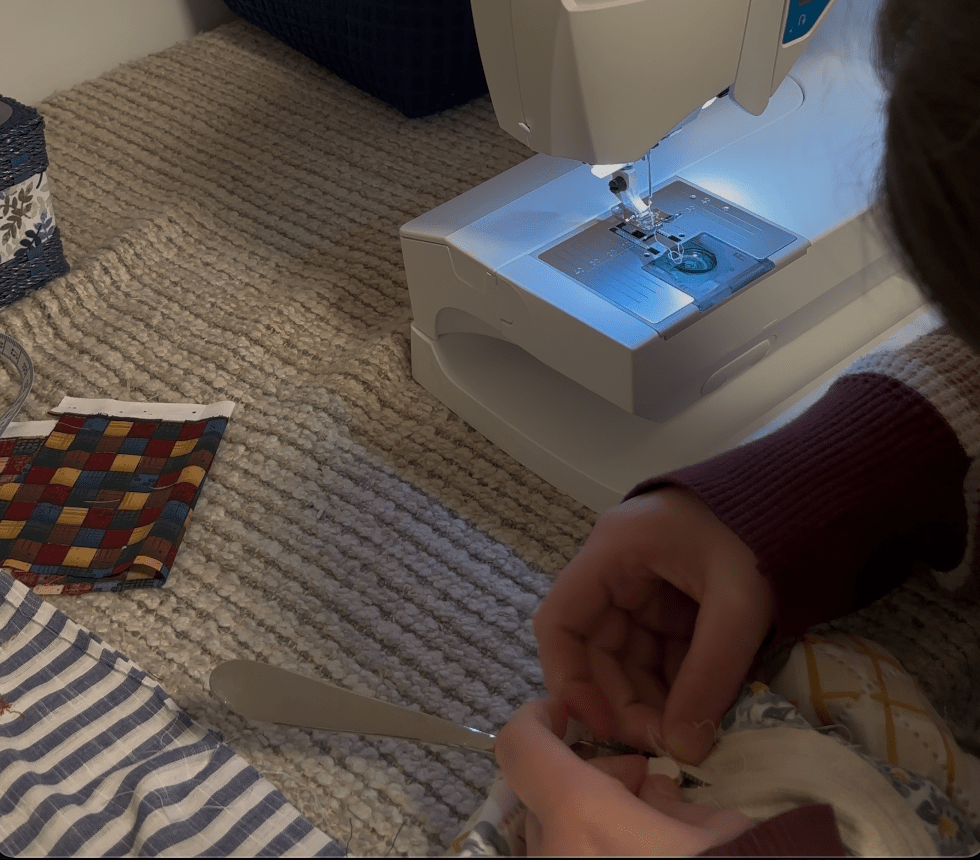
A Feed Dog Lesson
I hit another snag during the topstitching. My machine wouldn’t pull the fabric through. I assumed the quilt was too thick, but I was wrong. The issue was that there wasn’t enough grip at the start of the seam.
I called in an expert (my mom!). She’s an amazing seamstress and taught me the “Scrap Fabric Trick.”
Take a small scrap of fabric and place it ahead of your project. Start sewing on the scrap first. Feed your actual project in immediately after. Once you are done, snip the stitches connecting the scrap to your bag.
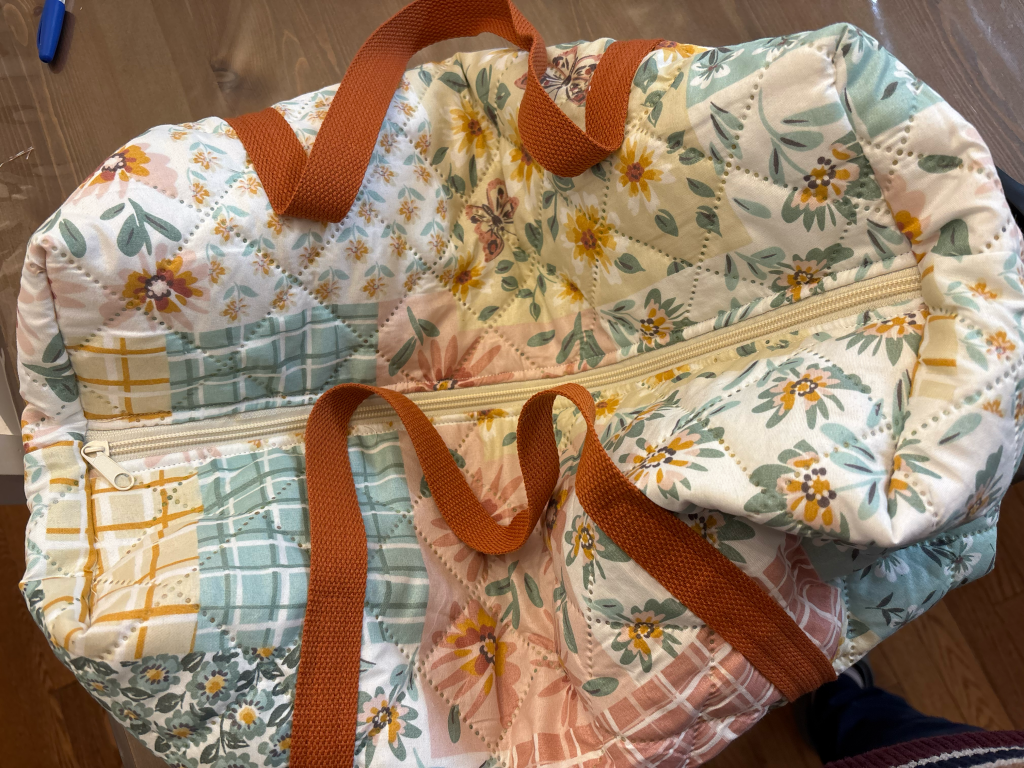
The Finished Product
Between YouTube tutorials and my mom’s lifelong expertise, I now have a DIY duffel bag made exactly to my specification. I gained more than just a bag; I have a new set of skills and confidence to continue with more projects.
Check out the final result. I’m excited to take this on it’s first trip!
With calmness and grace,
Hannah

Leave a reply to Hannah (Grace Between the Fields) Cancel reply